Tuesday, June 2, 2015

Back in the Blogging game

Ok, so after a way too long hiatus we are going to come back strong on GIG.

I wanted to take some time off to re-coop from the entire renovation and give our son some much needed mommy-son time. Well, days and weeks turned into months and a year (hiding face in shame) I blame it on the fact that we had a beautiful summer, full of guests,  a new (old) car to play in and were busy catching up on things as a family. 

A lot has changed in our apartment, we are a bit bigger family now. We welcomed a new baby girl in early May 2015. yayyyy!

So some blog posts I will be working on:

-Our Flood. Yep we had a flood from both upstairs apartments in January. It was a nightmare.

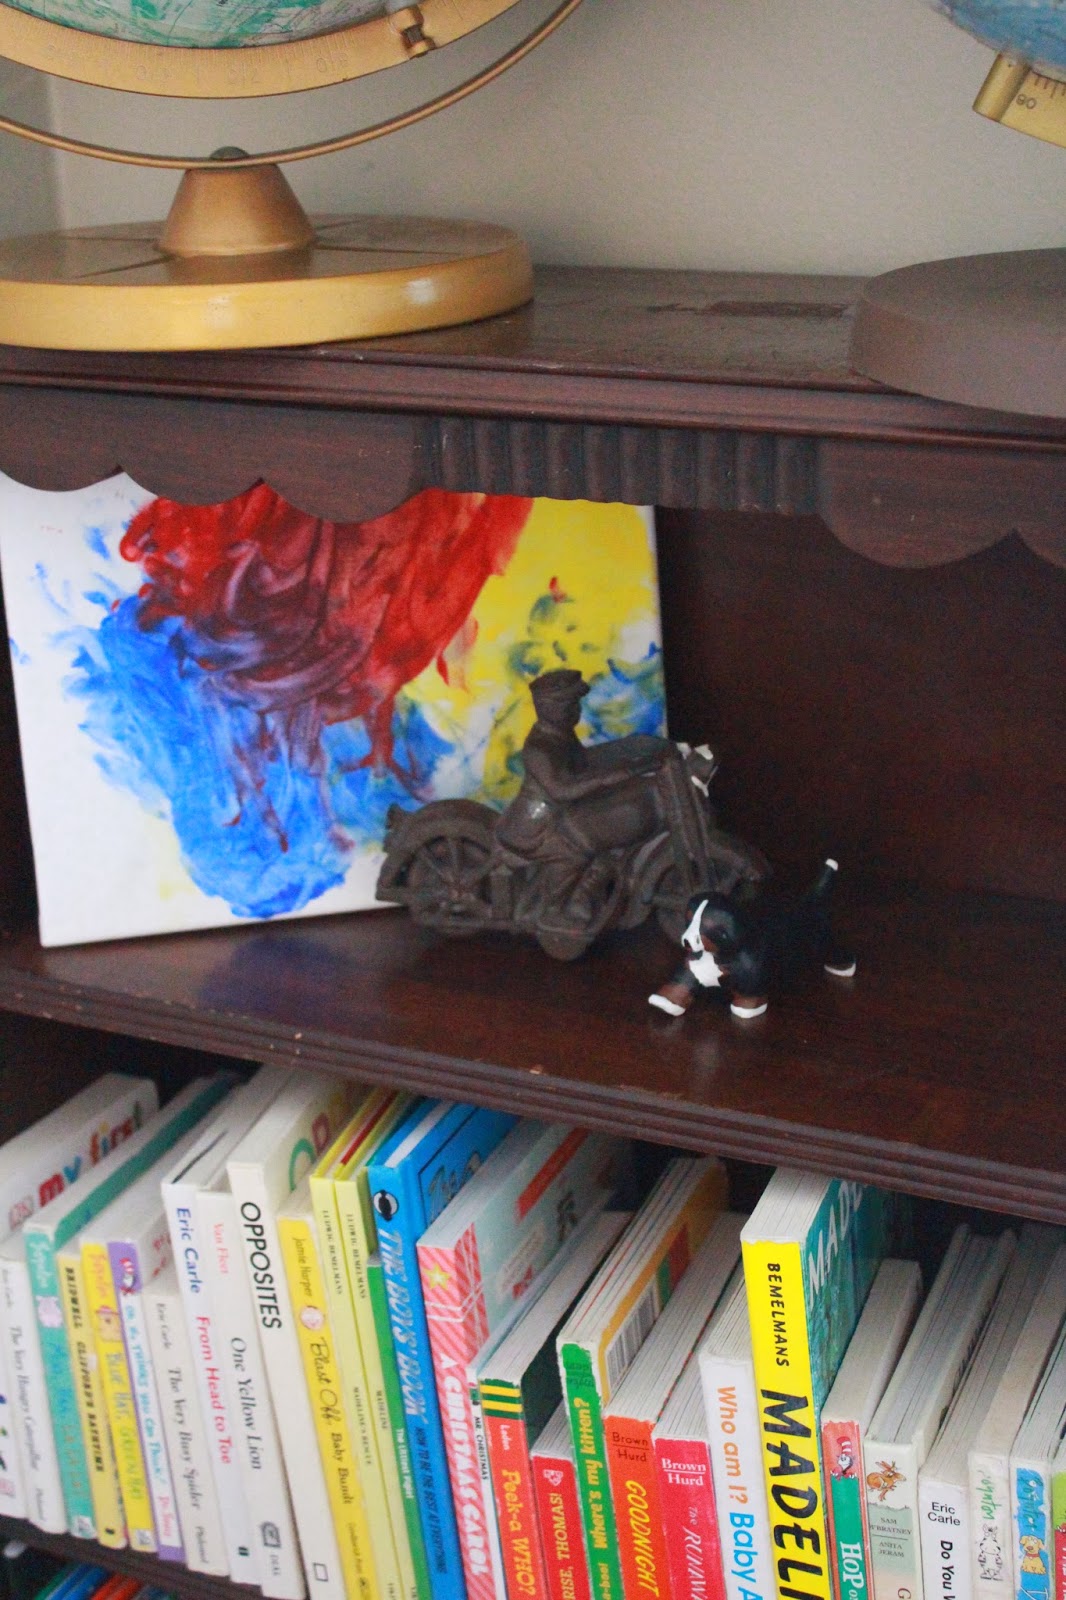
-The art and things we hung on our walls. As well as some easy DIY art. 

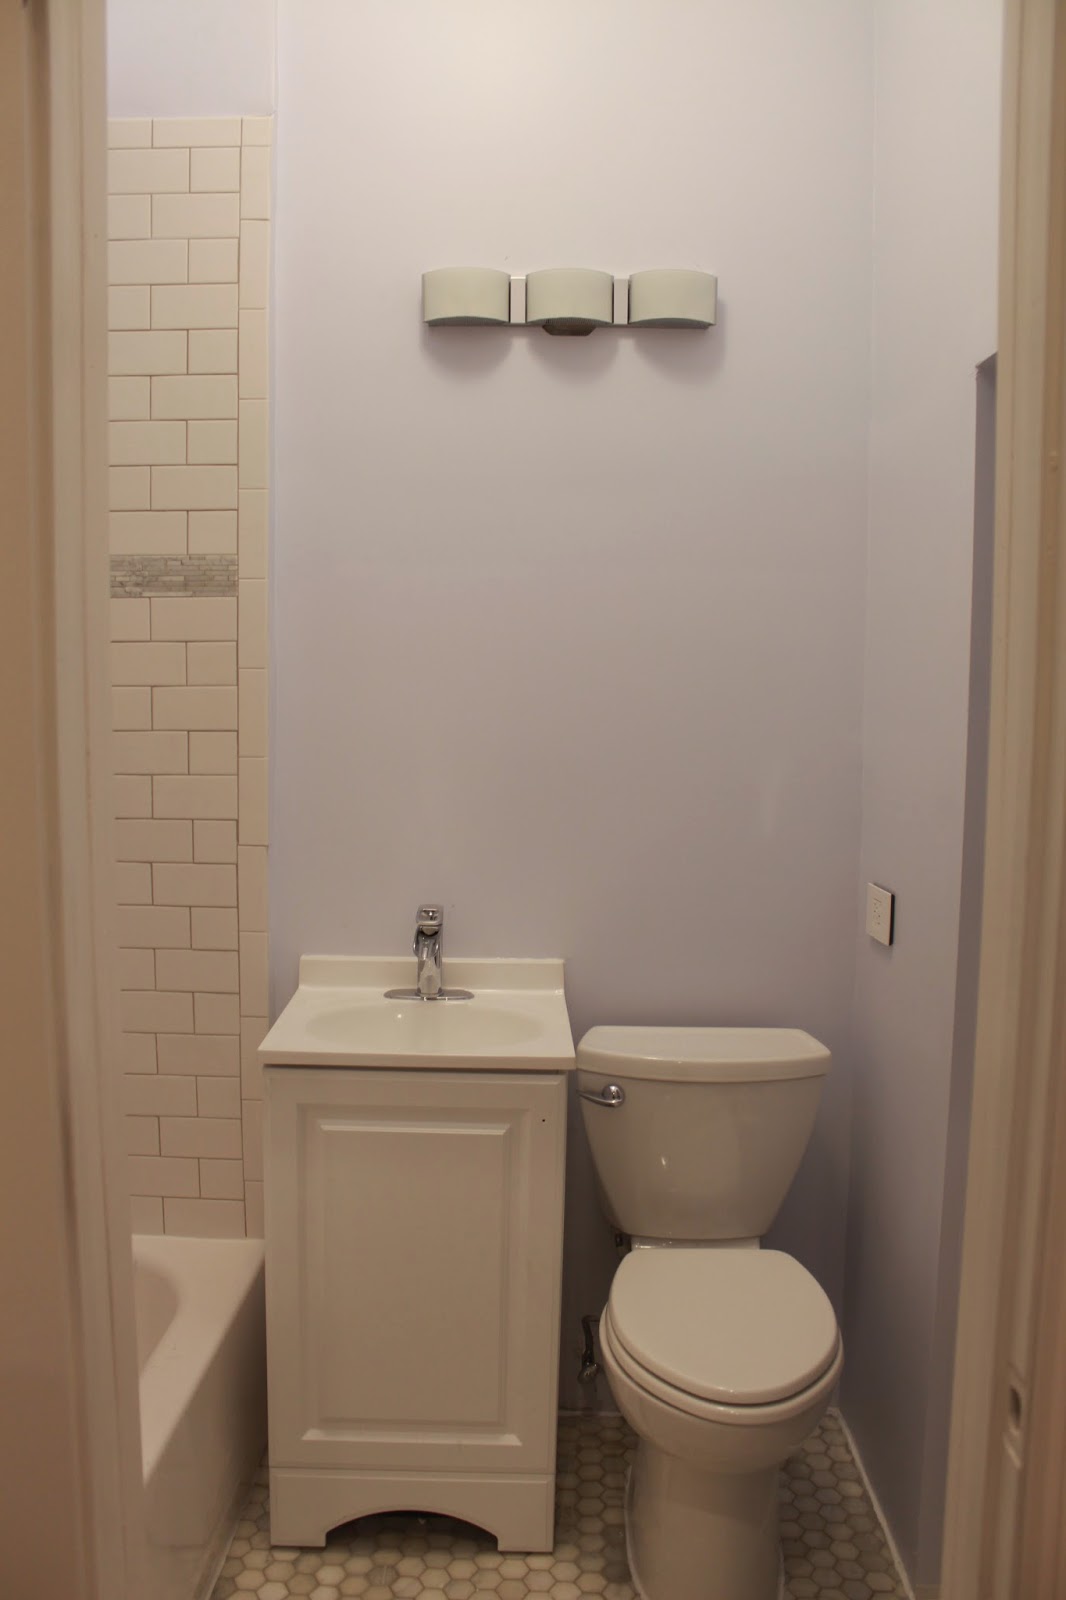
-A year long review of our appliances, fixtures and finishings. 

-Some fabulous finds for our space from both of us for the apartment


So keep checking in to see whats new over here! 

XO,

Kelly

PS be sure to follow me on instagram to see whats going on in our crazy lives.

Wednesday, February 12, 2014

1 Hour Love Day Banner


I love love. Does that make sense? I feel so good when I hear, see or feel love. Only one day a year seems a little on the skimpy side. But everyday is Valentines Day in my house. We say I love you, a lot. But part of me gets sickened by the gross amounts of pink and red Valentines Day seems to exude. Don't get me wrong I still use those sometimes, but not to excess. I like seeing shades of blush and raspberry instead.

I made this whole banner start to finish in under 1 hour. Perfect nap time project! I saw something similar a long time ago (aka pre-pinterest). So I did my best to create something similar.
What you will need:
Paint Chip Samples in your favorite colors. 
Chipboard or Card Stock (Cereal boxes work great!)
String
Sharpie (a pen/pencil would work fine too)
Scissors
Hole punch (aka my meat fork)
A sleeping baby helps too

oh and some flowers from Trader Joe's


Make a heart, on the card stock and use it as a template onto the samples. 


I choose Glidden samples because they were the biggest solid color ones. The multi-tone samples would be neat too. Honestly the rest is self explanatory, you cut them out and string them together!  I did use my meat fork to produce evenly spaced holes. 

If you need step by step instructions for how to poke holes and string them together. I will happily send you the number to my 7th grade home-ec teacher Mrs. Armbruster. 

I have a ton of 3M command strips and I always use them on stuff like this. I cut out 2 extra hearts to make end caps for the banner. 


HAVE A HAPPY LOVE DAY!!

oh, and make sure to hang it out of reach. 

Tuesday, February 11, 2014

Chalk Board Door + Bonus

So sorry for another delay... my excuses are so lame. But now my computer is set up on my kitchen counter with a wireless card installed and I am good to go! (I am hunting for a desk) If you follow me on instagram, you saw we had a busy week, from the Maya Hayuk mural on The Bowery, play dates with favorite friends and being locked out of the apartment by my toddler. 

As we were moving in we realized we had not painted the back of the front door! It was still that hideous green/gray color of years past. I was ready to whip out my paint brush and paint it off white like the rest of the walls. But my brilliant husband suggested a chalk board! (how cool is he?) I honestly could of slapped my for head with a dramatic "Why didn't I think of that?!"

I gave the back door a good washing and sanding to help the paint stick to the old paint. 

Everything was covered and taped. What would we do without blue tape?

Product of Choice.

After the first coat, I did 3 coats just to give it good coverage.

VERY IMPORTANT: It is imperative to have a toddler wrapped around your legs while you are painting. Absolutely key.

After waiting the designated 3 days (or almost 3 weeks) I conditioned the door with a chalk layer.

Rub it in, while asking your tired husband to take pictures of you doing it. After I rubbed it all in I washed it off and started doodling.


It made for a very entertaining morning watching him color and doodle all over the door. 


I was also planning on painting the front door this month as well. Then the Polar Vortex hit. And we haven't had an above freezing in awhile. I think my feet are actually getting used to socks! But it has been way too cold to paint the front door. But as a bonus here is what color it will be!


Monday, February 3, 2014

Touches in Duke's Room

Sorry for the delays we have been without internet, the polar vortex froze all the snow on our roof and the installer couldn't open the access door. It was a long week! But I was able to unpack a good bit of our stuff. I am the worst unpacker ever, because I try to think out where everything should go to make the most sense. This is also so in 3 months I don't rearrange my kitchen.

Seeing this room this way, I am even more grateful I wouldn't let them cover up the archway, or even the ledge in the archway. It came out exactly as I had envisioned.

Babyletto Grayson mini crib in navy and a Monte glider in charcoal.


Letters left over from Dukes birthday party.  I might paint them to look like Zinc, but I am happy with them at the moment.

 Vintage globes I have acquired over the years (I have 3 more in storage) and a miniature bookshelf I rescued from the trash at our old building.

Dukes first paining, a vintage cast iron Hubley motocycle I got for $7 at an estate sale and a carved Bernese Mountain Dog from my dad. Not to mention all of our books! We have many more to unpack as well. Of course they never look like this, Duke pulls them down on a daily basis.

The space above Duke's crib will not be left blank, I have been on the hunt for the perfect pull down type map.  Or, a beautiful blue print of the NYSE I have been coveting for months.

Wednesday, January 22, 2014

Goldilocks Bathroom


Wow, we are feeling so blessed. We have recieved so many texts, emails and comments of support and encouragement after our times article (read it here). It was so exciting for us and we could not have been happier with it. We grabbed several copies on Sunday and were shocked to see our faces on the front page of the real estate section! We of course took cheesy pictures of ourselves holding the newspaper. It was a wonderful moment to be in. We feel like real New Yorkers now. Watch Out World!

I am working on responding to all the emails and comments, bear with me! We are busy packing and moving this week so that has been pretty time consuming. But have no fear, I will respond.

But here is the bathroom, with it's 3rd sink. Yes, third. First (pictured on my bathroom board) was too big, which was a error on our part. We thought it was 18 inches side to side, not front to back. Lesson learned. Second sink was a wall mount with a towel bar underneath. Super cute, but way too tiny for our main bathroom. It would have been awesome for a half bath. We did not really want a cabinet but we were running out of options and time and it fit the bill. So, we brought it home with us. Not to mention that you can never have too much storage in NYC. 


We are having mirror problems, we (I) can't decide if a full width mirror would be best or a smaller and scaled down mirror would be better. I found an awesome dresser mirror but its 1 inch too big and its wood, so it would get ruined in a bathroom. Maybe I'll find something stellar on Craigslist. fingers crossed!


I just bought a shower rod but have not committed to a curtain yet. We are moving in this weekend so I am going to need to make some decisions soon. I am going to show you all my spiffy shelves soon once I finish working with my great friend Carly who is the most organized person of all time. Since I am not that person she is going to help me with creating an awesome plan for that space. Lets be honest "stuff" is ugly.